Before we start, you probably want to download the files. I mean the videos and the map file for quark. You’re lucky, the files are available here:
Preparing the room
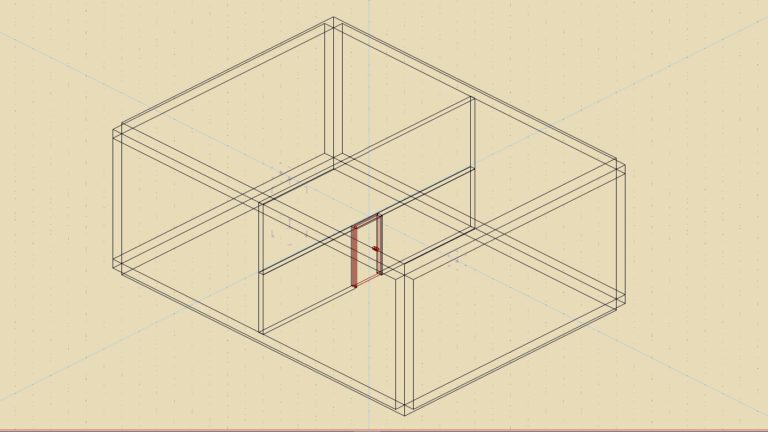
When we create a new map, the default textures are set for Quake 3. We don’t want that because we only belive in True Combat till death and after.
So we need to apply textures from True Combat to the walls. In first a little video and after explanations 🙂
(Please use the full screen button)
How to set/modify a texture on a wall
First, select the wall. If you don’t know how to select something, please die: click on it !
The selected wall became blue.
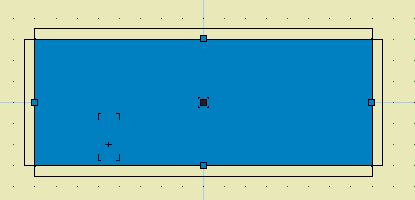
You can see that each face have a little blue square on it. Click on a square to select a face.

You can notice that when you rollover things a contextual tips show up.
It goes the same anywhere in Quark.I can’t explain in detail everything because it will ask me to more time.
You can easly learn a lot be yourself with simple icon rollover.
Some tools are now avaliable: Rotate and move. they alow you to modify the geometry Try them.
Now look at the sidebar. You should notice that once you select a face, an information panel show up.
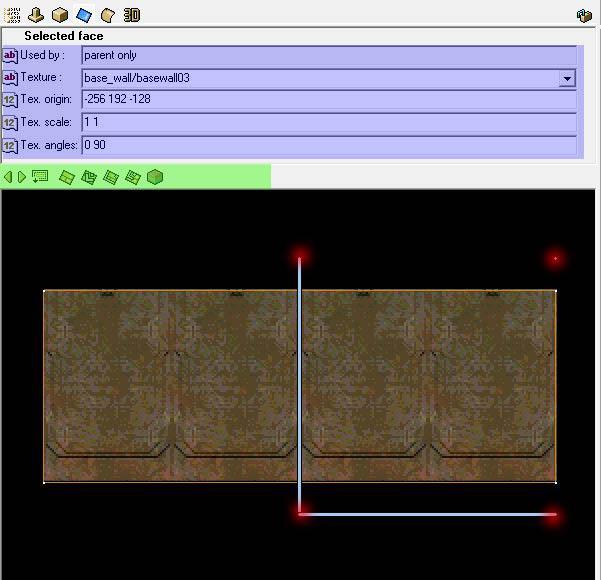
- The blue aera speek by it self. Try to mess up a bit with it.
- The green area have some very interesting tools like “adjust texture to fit the face”. This is also where you can choose another texture ( the first rectangular icon, or look at the video at 0:55. Once again, rollover to get information about the icon )
- The red dots are the points where you can manually set texture coordinates. Try to move those points to understand them better.
The common/caulk texture ultra important !
What is that weird strange pink texture?
Common/caulk is the most used texture ever. It tell to the game engine to don’t render the faces that have this texture. It help us to preserve/gain performances.
You have to know one thing: when the game engine see a face, it split it into triangles. So a square will be splitted into two triangles. And each triangle have a cost in term of frame per second. Therefore we must reduce the number of triangles as more as we can. Otherwise our map will soon not be playable: to many triangles to render mean not enought frame per second.
So you MUST use common/caulk on every face that will not be seen by the player.
You can see on the next video that i’m applying common/caulk on unnecessary face. Take exmple on it, you can also look at the map file.
Creating the door
(Please use the full screen button)
As you can see, a hudge part of the video is about manipulating polygones, modifying textures…
I won’t explain that in detail because i think that the video show it quite well and you are clever enough to try by yourself.
But if you need some more explanation, ask me on Facebook.
What is realy important to make a door for True Combat?
The first thing you need to do is to add a new entitie ” func_door_rotating”. It can only done by using this menu
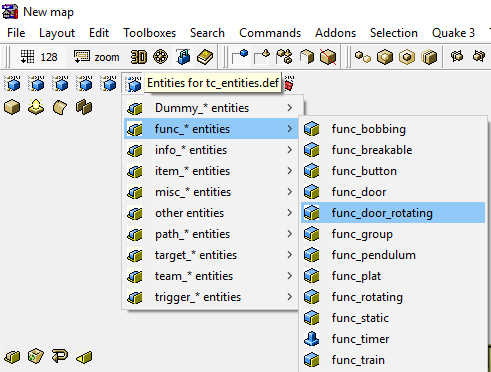
Note: If you don’t have the “Entities for tc_entites.def” menu, it mean that something went wrong with this tutorial. So try again.
This entites came with default cube:
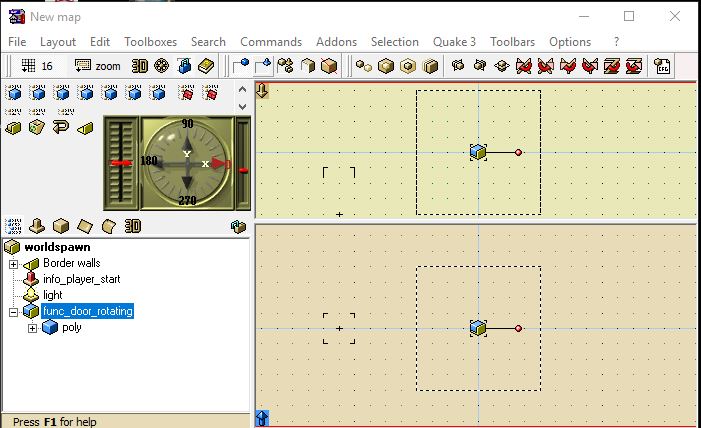
There is nothing strange here. In fact, you have to click&drag all the polygons that make your door inside the func_door rotating entity.
Once it’s done, you can use the default cube to define it as rotation axis. You must give him the common/origin texture. The center of the polygon will represent the rotation axis (the center is shown by a black square).
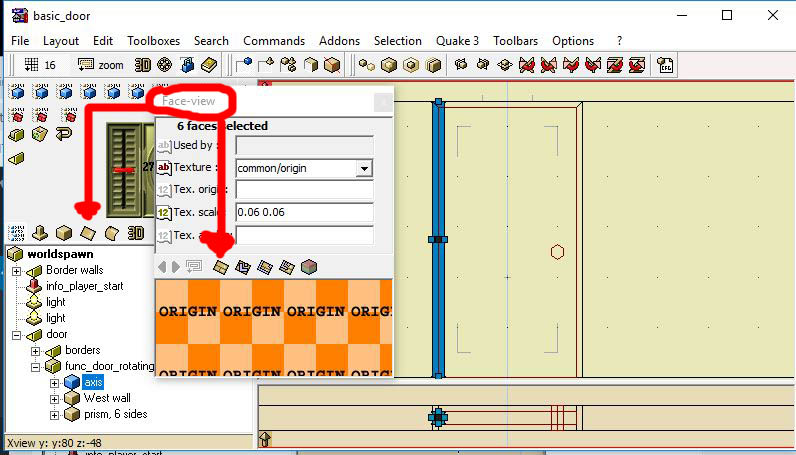
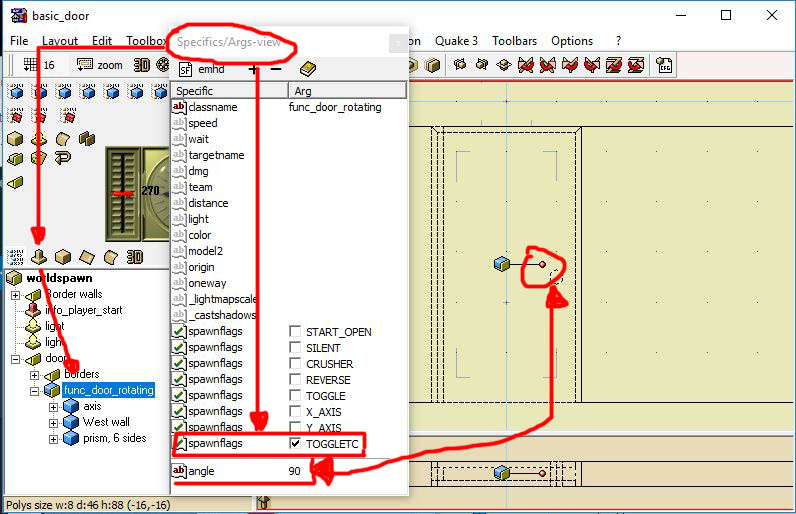
The lasts things you need to do is to tell to the entites to be set for True Combat.
The spwanflags “ToggleTC” mean that the door will open only when the player act on it. Otherwise the door will open on its own when the player is next to it.
You can also set the angle like it’s shown on the picture.
That’s it, your door is ready for action!


