Making cude is easy. Only one click. But when the shapes are curved, it became more complex. Trying to do it by hand is a waste of time because face and vertex cannot snap to the grid. And making complex shape without a grid is a nightmare. In fact, it cannot (humanly) be done. Or you can spend one week to make an arch.
As usual, you can dowload the sample file and the video.
Making a rounded window
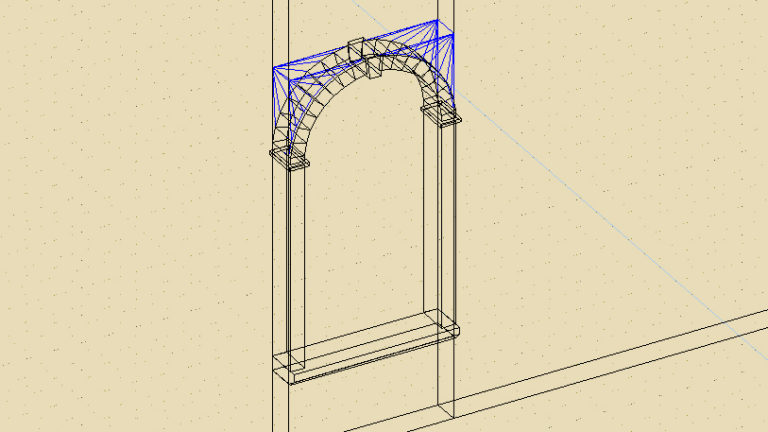
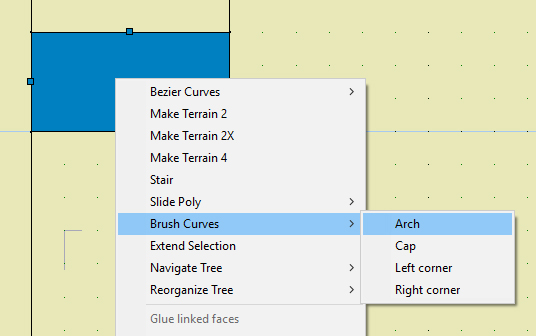
The general process is quite easy. The first thing to do is to cut the wall to get a rectangle that will be our window. Now cut from this rectangle the part that will be rounded. Then you just have to do a right click on that part of the “future window” and select “Brush Curves-> Arch”.
Once it’s done, you’ll get a strange blue shape. it’s a basic arch. you have to go into the “Specific/Arg-view” window ( for anything in quark, this is a place where you can modify the parameters )
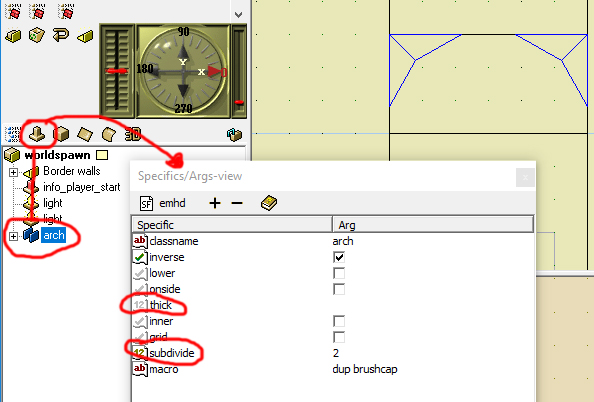
There is two major argument.
subdivide: this allow to add divisions and make the shape more rounded. You shouldn’t give a a to much high value. 8 is a good value. You can go up to until 16 but more doesn’t make sense.
thick : As it say, it is the thickness of the shape.
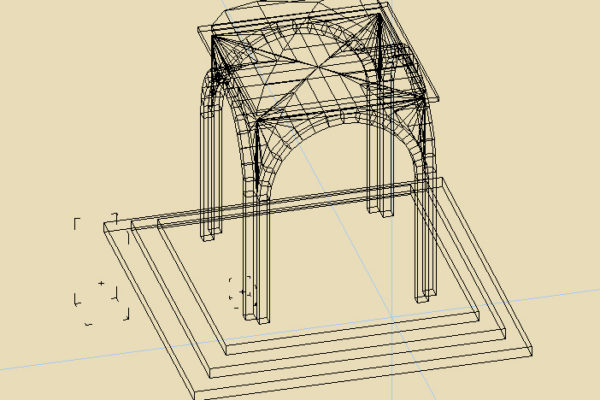
Now if put two polygon on themself. Make them “Arch” give the first a subdivide value of 8. And for the second one, give it a tick value a 4. You will get something verry interresting
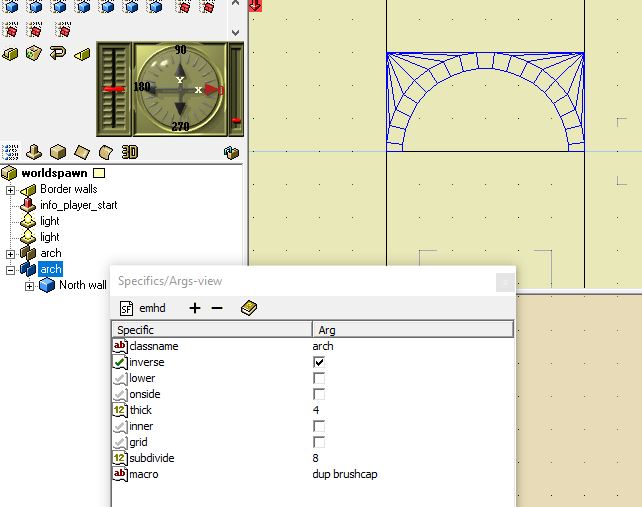
The second Arch perfectly join the first Arch.
Now if you want to interact with the arch, you can modify/rotate the poly inside the “Arch” entitie. you can also move the vertex.
But you can go further, you can dissociate the “Arch” entite into polygons with a right click. This will allow you the deal with texture for exemple.
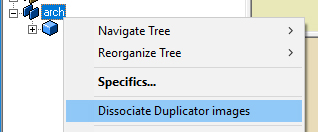
There is also some other tool in the same menu that work the same way. They all can be found in a right click on a cube then “Brush Curves”
With this tool, you can imagine a more complex window or architecture or for a building. It’s up to you to imagine something crazy!
